Tutorial : Diostruct Wall

INTRO
If you're reading this, then chances are you're probably a toy photographer. If you're a toy photographer, chances are that you're familiar with dioramas and maybe even have made your own. If neither of these apply, you still might find this...well...constructive.
I've always been the crafty, creative type, so trying my hand at diorama building wasn't as intimidating as it might be for some. Honestly though, that shouldn't keep you from trying it out yourself! Constructing can be easy, relatively inexpensive, and for me, somewhat therapeutic. Tackling a diorama also means you can build to suit your own needs for photography and/or display. I was in need of a multipurpose wall to incorporate into my photos, so I decided to go the urban route with red brick and stone masonry for my first attempt.
MAKE A PLAN
Taking the extra time to plan always pays off in the end! Before you start creating, I highly recommend sketching your design on paper to help visualize your build. You'll want to determine your scale and ensure you purchase enough material to cover - I hate making multiple trips to the store.
Here is a short shopping list of items I used in my dio wall:
foam insulation board - 1 in. x 2 ft. x 2 ft.
snap blade knife and/or Xacto knife
mechanical pencil
ruler
screwdriver
a small garden style rock (just roll with it)
Craft Acrylic paint (flat) and small paint brushes
GETTING STARTED
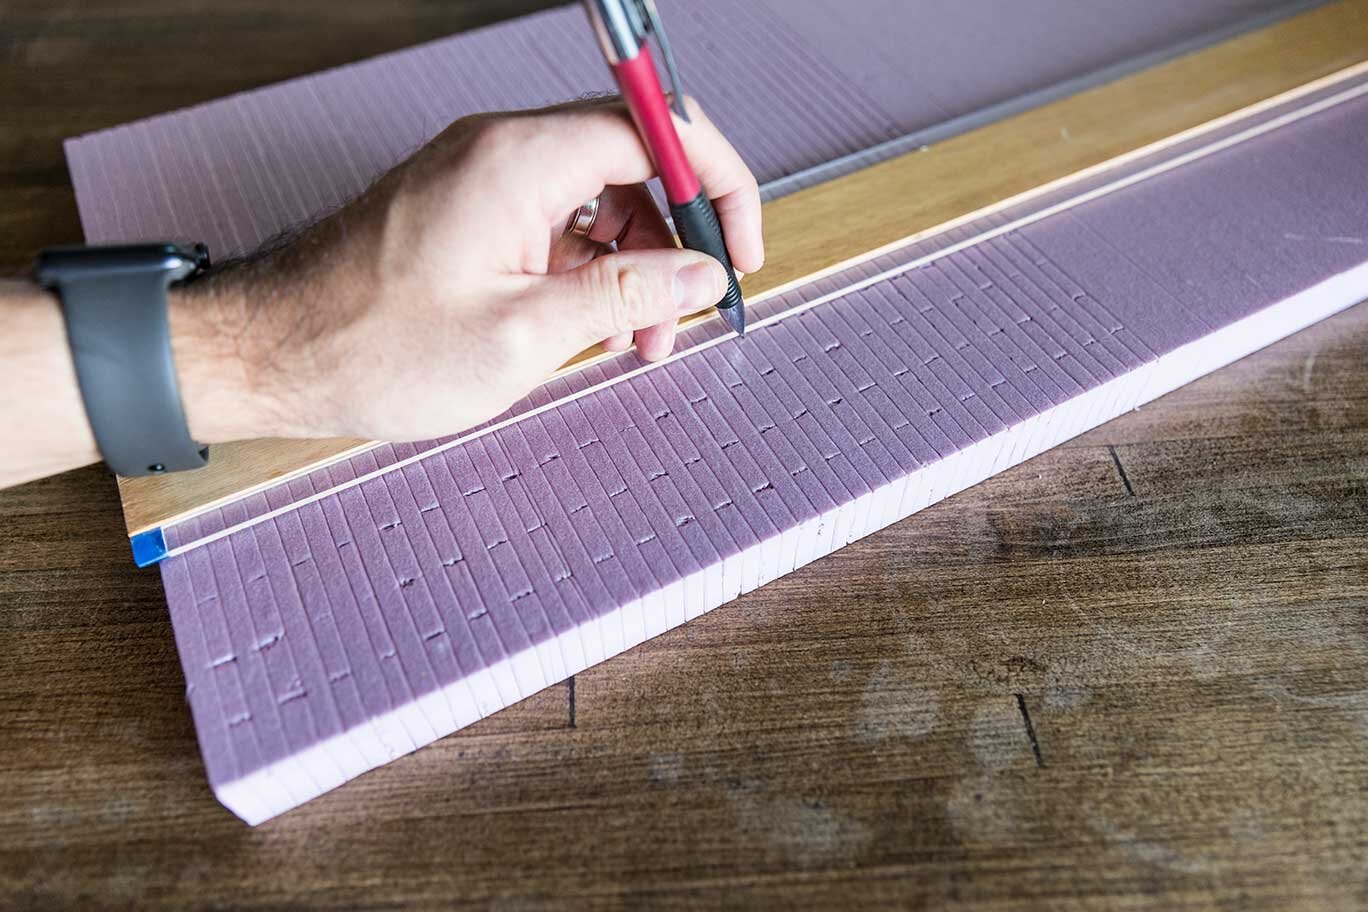
For my wall, I chose the 1:12 scale which is commonly referred to as "6-inch". Instead of using the full 2 ft. x 2 ft. foam board, I cut it in half to give me a tall and narrow wall. To stay within scale of my 1:12 figures, I chose to make my bricks .75” wide by .25” tall. Use a ruler to mark every .25” until you reach your desired height. I made the bottom section 8” tall, leaving .75” above as a stone ledge before continuing my brick rows upward to the second floor. That said, there really aren't any right or wrong dimensions - and sketching out your idea beforehand will help you determine what look you are going for.

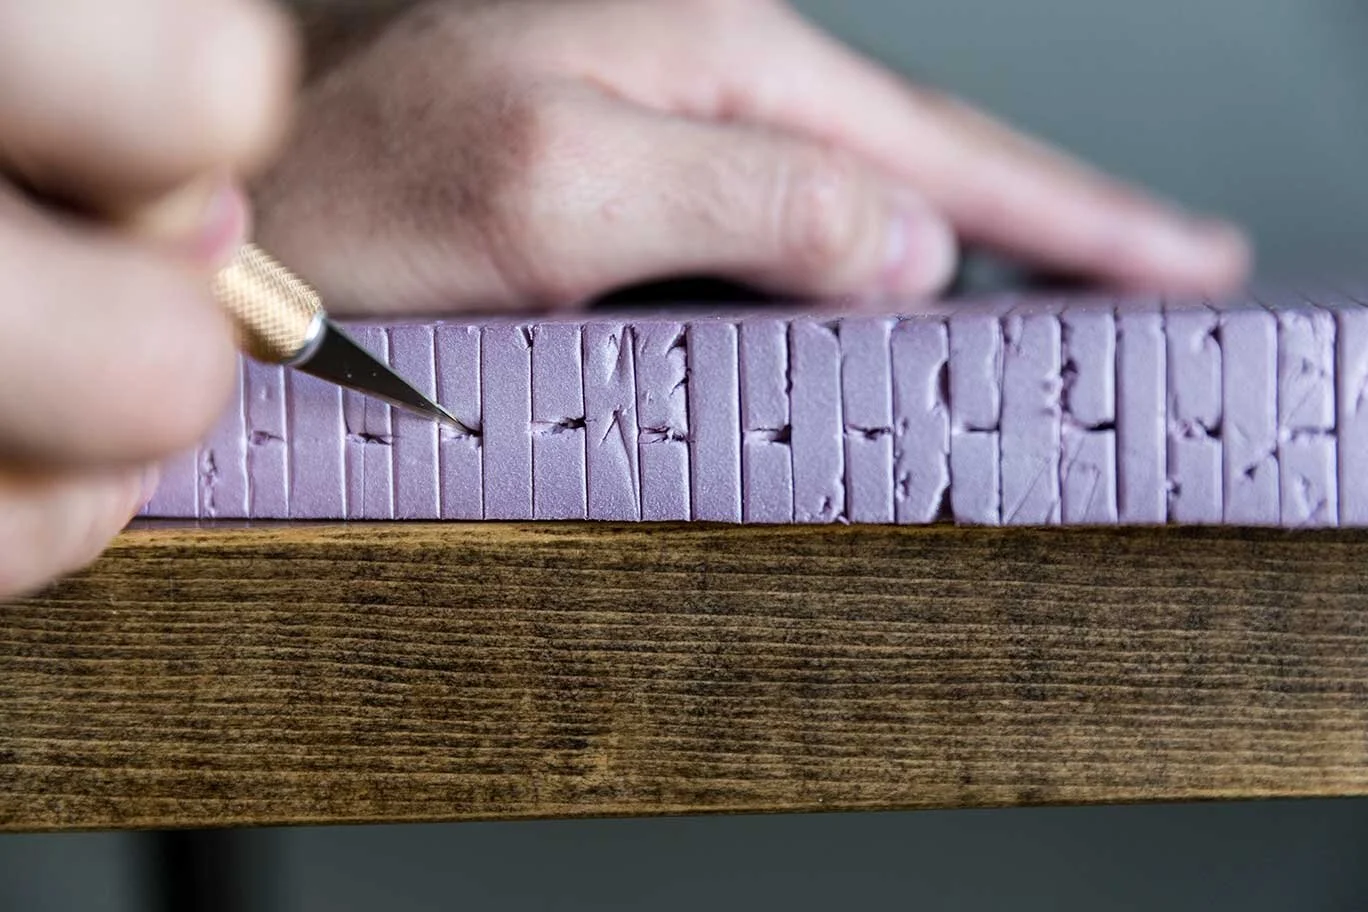
Using a mechanical pencil (and exacto when needed), start scribing your lines horizontally using enough pressure to create a nice groove across the foam surface. I find that deeper grooves help later on during the painting and weathering process. Consider varying your pressure and placement of lines to create a more handmade look to your wall. After your horizontal lines are finished, finish defining your bricks with short vertical lines every .75” apart, offsetting every other row. (Don’t forget to continue around to the sides of your foam board to complete the illusion of how real bricks are set on corners.) This step is generally the most tedious but will yield great results if you're patient!


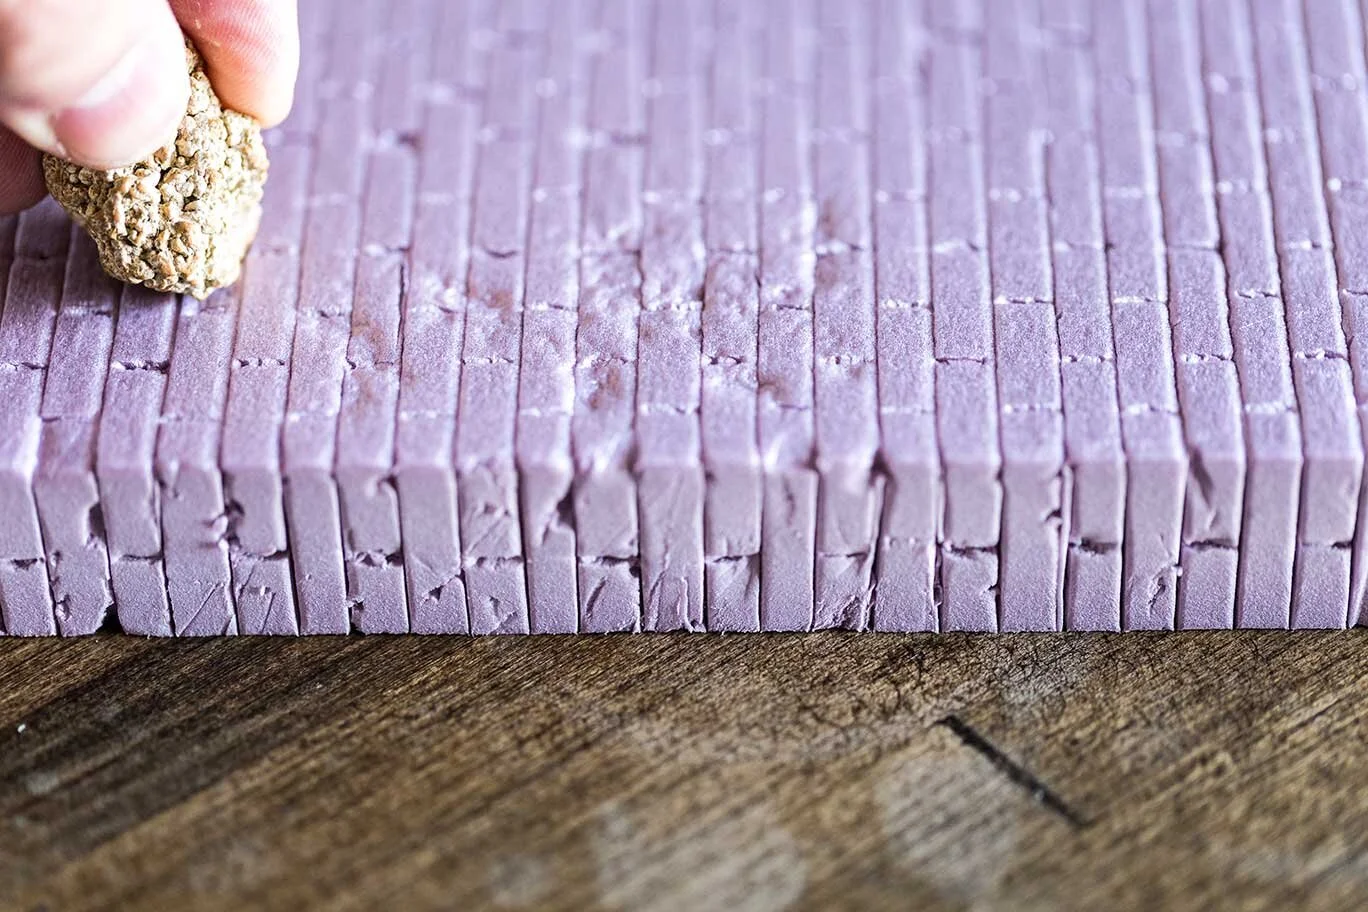
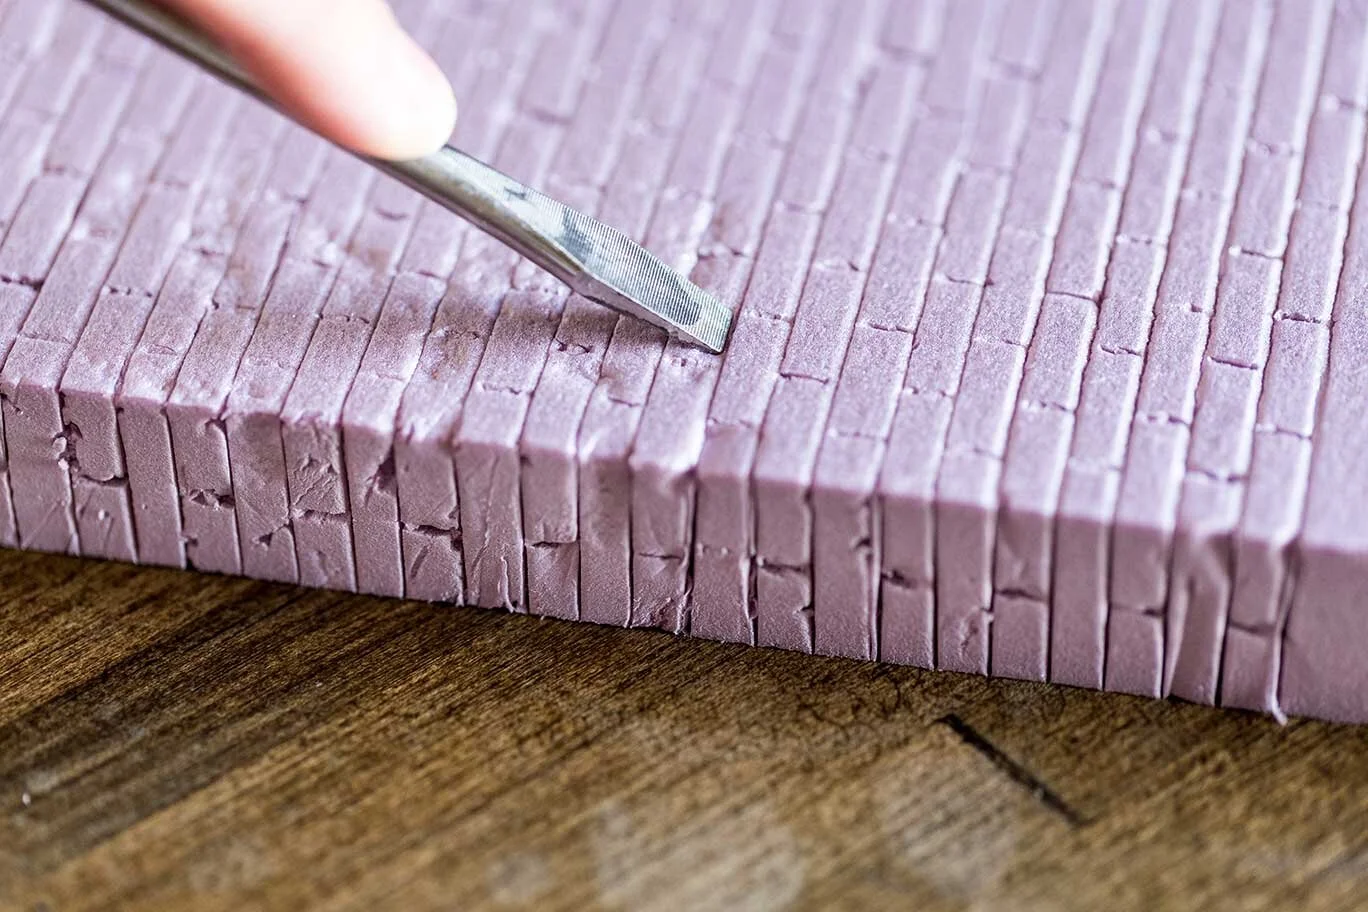
After your bricks are blocked in, use your small garden rock to distress the foam board by pressing it into the foam. The flat head of the screw driver can be used to press into individual bricks to break up the flat surface and provide some non uniformity. Distress until you achieve the desired effect. Remember that imperfection is what you should strive for to get a realistic look.


PAINT AND WEATHER
This stage is my favorite, as all your hard work and time investment begins to pay off. The first thing to do is cover the foam with a gray base coat. I prefer using flat matte acrylic paint and adding a clear coat later if I want a sheen or gloss surface. All the paints I picked up at Walmart for about $1 per bottle - you don’t need to spend a lot of money to get great results!
After painting the gray base coat, I start with my darkest color and work up to my lightest. In this case I use a mixture of dark red, brown and a little black. Apply liberally, leaving some of the gray exposed in the cracks to resemble mortar. For variation, periodically add a tiny drop of gray or brown on your mixing palette and dry brush it in random sections of your brick work.


To make a lighter brick color, use red/brown as your base and add a drop of orange, gray, yellow, etc. as desired. This application layer will be the basic color of your final wall before adding a black wash for a weathering effect. I recommend dabbing any excess paint from your brush onto a paper towel and using more of a "dry brush" technique to apply the paint to the wall. Continue to do this as you slowly build up your layers.
Finish using another dry brush application with a lighter mix of red and gray. This final color layer should be used sparingly as to not cover the previous layers completely. The dry brushing technique will highlight the edges of bricks and provide contrast against the darker recessed sections that won’t receive this layer of paint.
The last stage is to add a thinned out layer of black and brown paint to give some age and weathering to the wall. Mix the dark colors and dilute it liberally with water. Prop up the wall, apply the wash at the top, and let it drip down into all the nooks and crannies. Dab any excess wash with a dry paper towel and repeat as desired.
PUT IT TO GOOD USE
Now that you have your own scratch built wall, you can use it for photos and display! I used mine for a few separate photo sessions and I couldn’t be more pleased with the results. As I mentioned before, there is not right or wrong way to create your own diorama props, so have fun and enjoy the process.


RESOURCES AND INSPIRATION
Resources
Inspiration on Instagram
- @kadio_diorama
- @reko_ch
- @sagejdg
- @terrafoamer
- @oilers_workshop
- @budfutu